
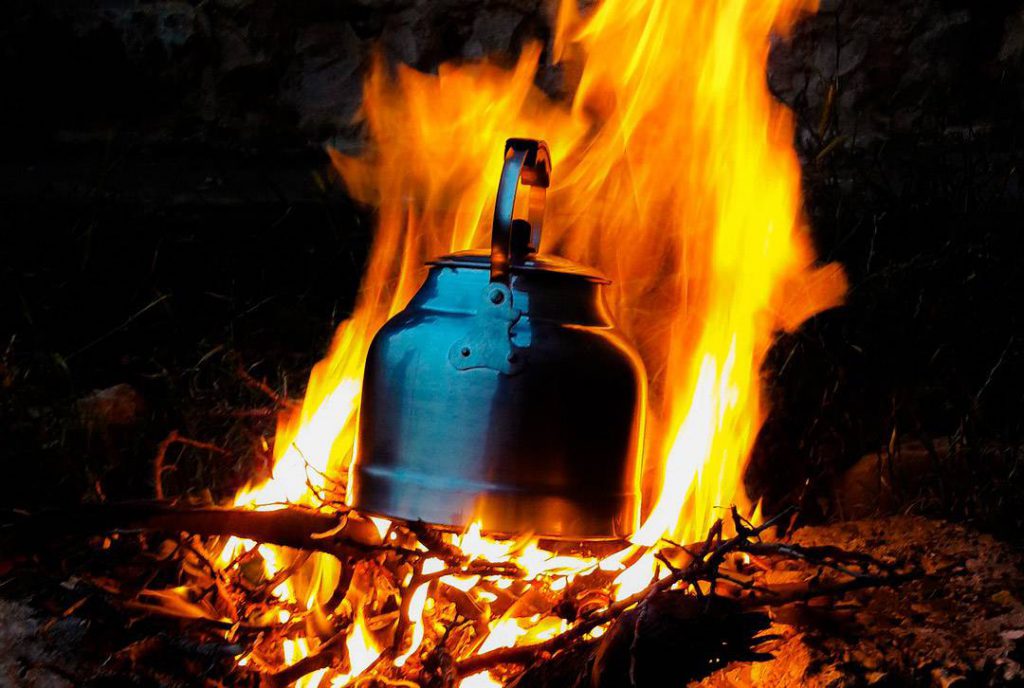
In extreme situations, knowing how to light a fire can mean the difference between life and death. Fire meets many human needs: it is a source of warmth and comfort, you can cook and preserve food over it, and you can use it to purify water (by boiling it), sterilise bandages, send a distress signal and protect yourself from wild animals. It can also light a torch to show you the way when you are out in the wild.
Would you like to know how to make a torch with your own hands in a quarter of an hour or so, using nothing but a knife? Have a look at my article How do you make a torch in 15 minutes?
Probably ever since humans first appeared, an ordinary campfire has also been a reliable way to lift morale. That is why it is so important to know how to light a campfire in almost any conditions.
Preparation
Fire is not all upside, though, and it can cause trouble too. Wherever there is fire, there is always a risk of it spreading, so before you light one, get a clear picture of a few important safety points:
- Is lighting a fire allowed in this place? In Polish forests, for example, you may only light a campfire in places designated for it.
- Make sure the place where you are going to light the fire is well enough ventilated, otherwise you could get carbon monoxide poisoning. This matters most of all when you light a fire in any kind of cave or in a small, enclosed space.
- Take a look around, too. Is there any dry grass or dead leaves nearby that could catch and let the fire get out of control?
- It is also always a good idea to make sure that, if anything goes wrong, we can put out a fire quickly. Get to know the area and find a stream nearby that you could draw water from to put the fire out if need be. A good idea is to fill a container with water in advance and stand it somewhere in the camp (it will also come in handy at the end: drown the campfire with plenty of water, stir the ashes and embers, drown it again and check with the back of your hand held over the ashes that nothing is still giving off heat - soil or sand on their own are not enough, because embers can keep smouldering underneath).
The theory of fire and of lighting a campfire
Lighting a fire is a skill like any other, and like anything else, if you want to do it well, you need to prepare properly. So before we start lighting a campfire, let’s go over a few basic facts about fire.
Humanity makes progress mainly by asking so-called “stupid questions”, questions so stupid that nobody knows the answer. We are going to ask one of those “stupid questions” too, although - luckily - this one was answered a long time ago:
Why does anything burn at all?
Or rather: what does it take to start combustion and keep a fire going?
This is described by the so-called fire triangle. It names the three essential ingredients without which there will be no fire:
- oxygen
- heat
- fuel
If any one of these ingredients is missing - there is no fire.
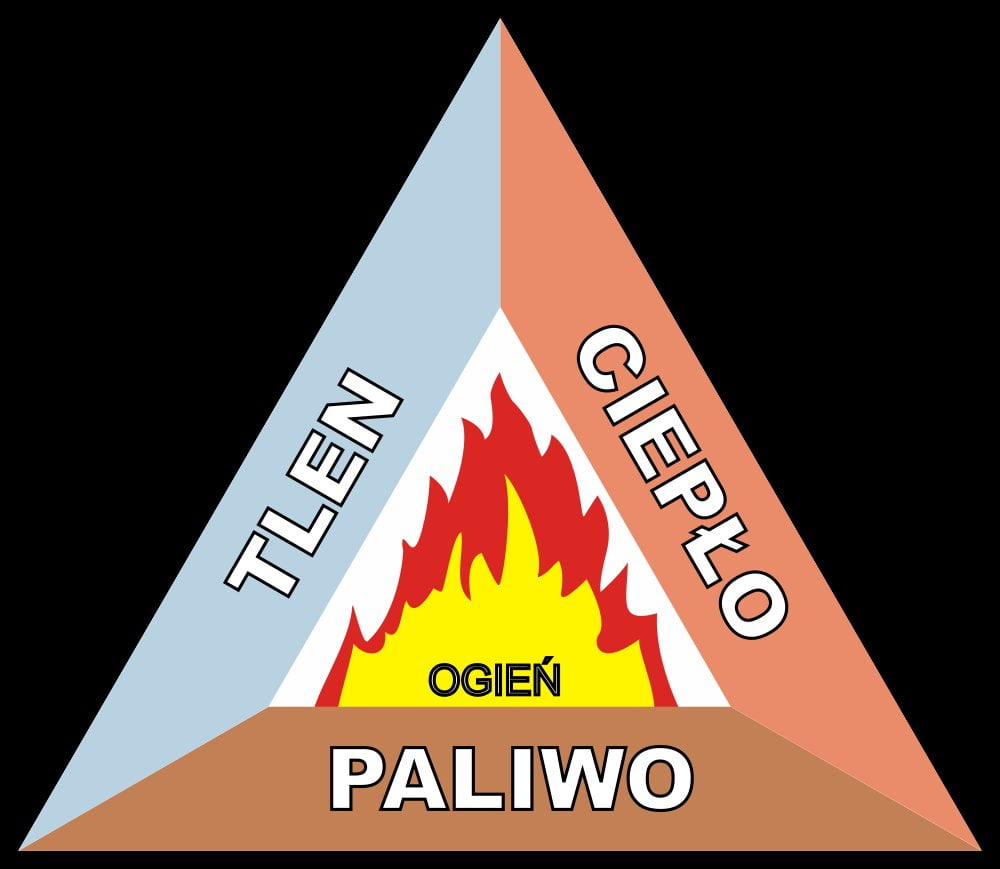
Oxygen - surely everyone knows this scouting trick: when the fire starts to die down, you just blow on it a few times. That way we supply more oxygen, so the combustion reaction runs more vigorously. Burning is nothing other than the oxidation reaction you know from chemistry, so the very name of the process tells you that without oxygen you get nowhere.
Heat - heat is needed to turn a solid - in our case usually wood - into a gas. Not everyone realises this, but wood does not burn directly. It is the heat that makes it give off gases, and it is these gases that burn, producing heat and flame.
Fuel - as I mentioned earlier, our fuel will usually be wood. In different conditions, depending on what is available, you can use different fuels. Bedouins, for example, use dried camel dung for this. I think, though, that most of us would rather stick with wood.
Right, I think that’s enough theory. Let’s get down to preparing the campfire.
Good preparation is the key to success
Any job, if it is to be done well, needs proper preparation. So how do you light a campfire so that it all “hangs together”?
The first thing we will need is the right kind of fuel, and enough of it.
The next thing is the weather. Is the spot where you plan to light the campfire properly sheltered from the wind? If you are lighting the fire in fairly calm weather, you have nothing to worry about. A light wind can even help us keep the fire going by feeding it extra oxygen. But if you are trying to light a campfire in a gusty wind, you need to find good shelter. Almost anything can serve as shelter: a large boulder, a rock overhang, even a broad tree trunk. Use your imagination here.
A well-built windbreak can also make an excellent heat reflector. Thanks to it, some of the heat radiated by the campfire bounces off the windbreak and comes back to us.
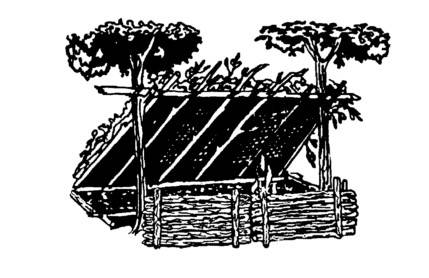
If you cannot find shelter like that and the wind is particularly gusty, as a last resort you can dig a small pit in the ground and light your campfire in it (only dig the pit in mineral soil, in sand or gravel, away from roots and peat - embers can travel along roots underground and come to the surface far from the fire, so when you are done, drown the pit with water and dig it over).
Let me remind you once again about the risk of fire, which you should never take lightly. I once witnessed an accident in which a tiny flame set a whole, fairly large hill covered in dry grass alight, literally within moments. At first it looked harmless. Nothing much - just a small flame and a bit of smoke. But within a minute or so the fire had spread so fast that there was no putting it out any more.
Think about the trouble you could get into and the damage you could do if you started a fire like that in the middle of a forest. Better to think about it beforehand.
Eeny, meeny, tinder, sticks. Whoever can’t find it… er… er… won’t be lighting a fire.
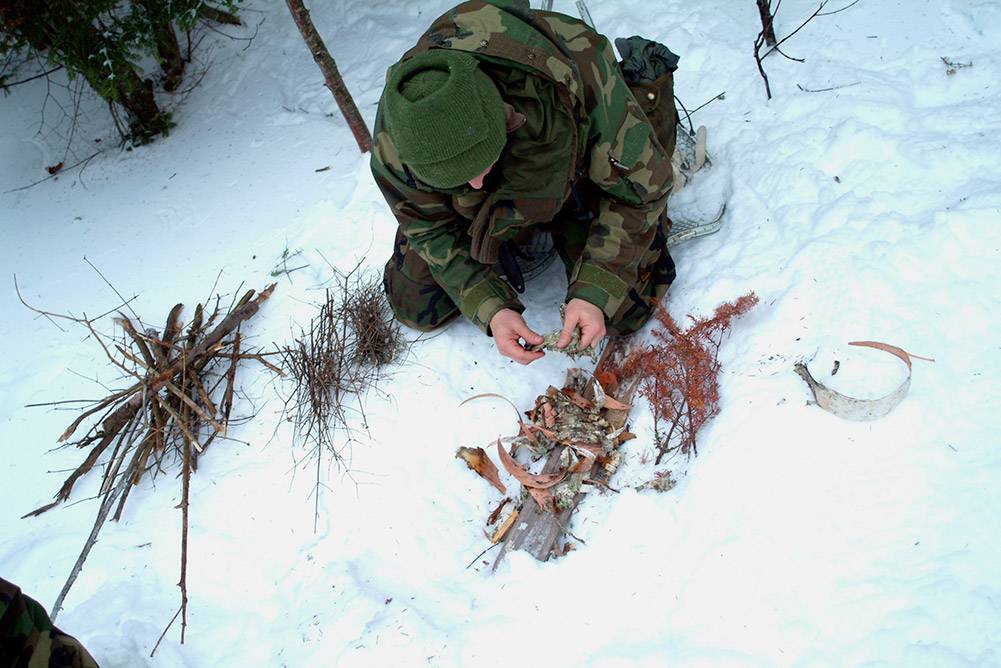
Tinder is what gets a fire started - it is the stuff you hold the match to. To catch a spark from a fire steel, you need something even finer: a material that smoulders easily (e.g. birch bark, cattail fluff, cotton wool).
Good tinder is the key to lighting a campfire quickly and reliably. Any dry, fine material that readily takes a spark from a fire steel or the flame of a match will do. That could be small, dry broken twigs (these will catch the flame of a match rather than a spark), dried blades of grass, dried moss or even a bit of cotton sock fluffed up with a knife. I encourage you to experiment with different kinds of tinder. After a while you will get the hang of it and be able to tell at first glance whether tinder is any good or not.
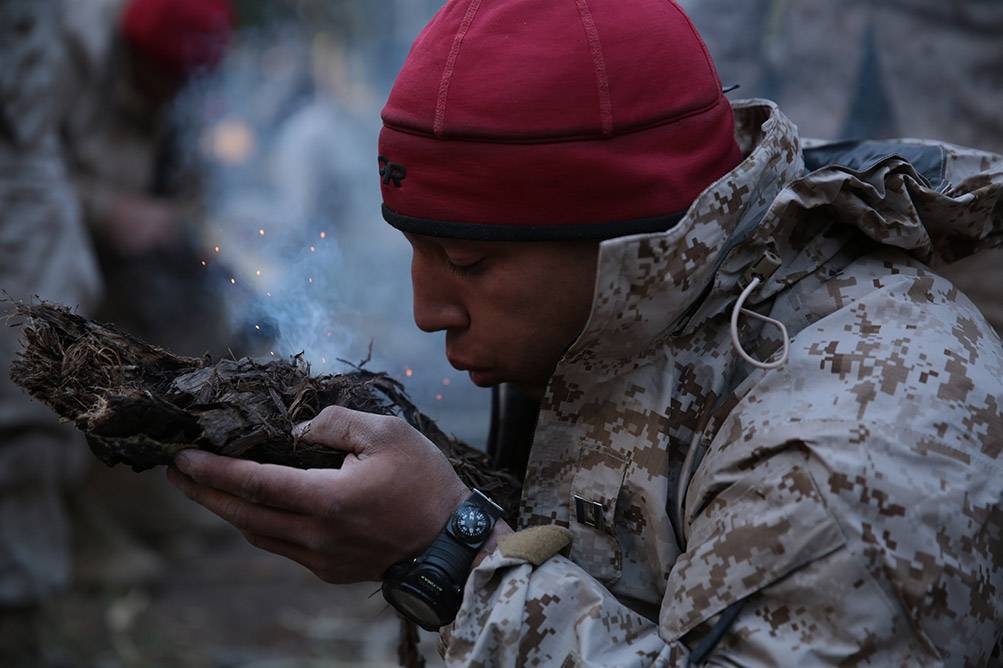
Out in the wild, conifer resin makes good tinder. It works on much the same principle as the paraffin wax in a candle. Just look for a damaged tree that is oozing resin, and break off or cut off a few dry pieces with a knife. Now crumble it between your fingers and sprinkle the crumbs over your tinder. You can also use bigger pieces to get a fire that is already burning going faster.
Some of the best tinder there is comes from dry conifer twigs, ideally pine. They are naturally soaked in flammable resin, so they catch quickly.
Gather plenty of wood
Once you have the right tinder, look around for bigger branches to keep the fire going. The best ones for the job are dry, dead branches that are still on the trees. The ones lying on the ground are often wet and rotten and do not make good fuel. For one thing, they struggle to catch, and for another, once they do burn, they smoke terribly. Sometimes that smoke is exactly what you want, for instance when smoking meat or driving off pesky insects. For that, though, you are better off using fresh green leaves than rotten branches.
The best test of whether a branch is dry is to try to snap it. If it breaks with a dry crack, it is good for our campfire. If it bends and you struggle to break it, it is not good fuel.
Let’s light it!
When lighting a fire, follow one important rule: we start with the tinder, then move on to small, thin sticks and twigs, gradually adding thicker and bigger ones. Obviously you will not light a thick log directly with a single match. But if you first light the small sticks and then gradually add thicker and bigger ones, in the end you will be able to throw on even very thick logs, and by then they will catch without any trouble too.
Do not light the fire until you have gathered enough fuel.
Small twigs, brushwood and dry grass burn very quickly with a bright, lively flame, while thick logs and stumps burn slowly and last longer. With that in mind, ask yourself whether you have enough fuel to keep the fire going. And what does “enough” mean here? According to Bear Grylls, the first step to gathering “enough” is to collect wood until you are sure you will definitely have plenty. The next step is to collect three times as much.
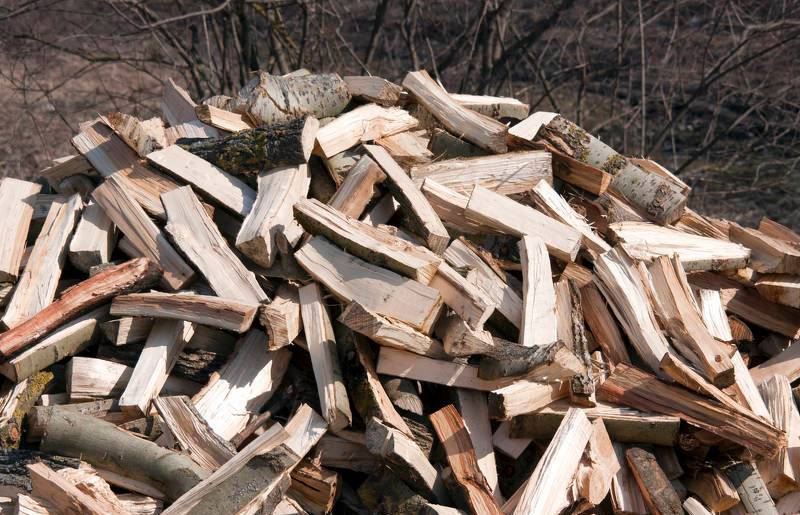
In other words: you need to gather far more wood than you think you need.
How do you lay a campfire?
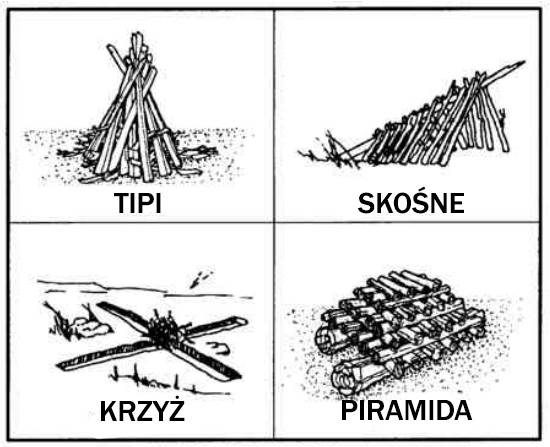
There are several ways to lay a campfire, and each has its pros and cons. Your natural surroundings and the situation you are in decide which type of campfire is right for you.
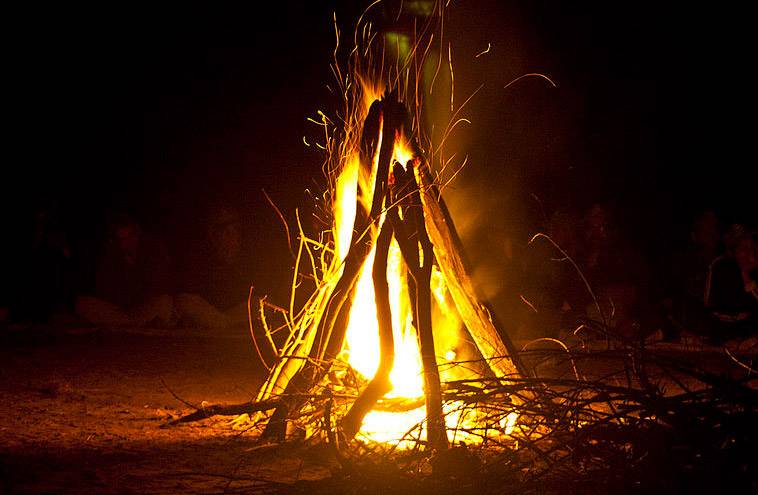
The tipi fire
To light a tipi-style fire, arrange the tinder and a few small sticks in the shape of a Native American tipi (sometimes wrongly called a wigwam). The finer fuel should go inside, and the further out you go, the thicker the branches you lay. As the tipi burns, the outer sticks fall inwards and feed the fire. This type of campfire burns well even with damp wood, although damp wood smokes a lot.
The slanted (lean-to) fire
To light a lean-to fire, push a green (barely flammable) stick into the ground at an angle of about 30 degrees. Point its end in the direction of the wind. Put the tinder deep under the stick, at its base. Lay two rows of dry branches so that they rest on the stick in the ground. Now you can light the tinder. As the fire burns, keep adding more branches, leaning them against the stick.
The star-shaped fire
To use this method of lighting a fire, draw a cross about 30 cm across on the ground. Then dig grooves 7-8 cm deep along the lines of the cross. Put plenty of tinder in the middle of the cross. Build a pyramid of dry branches over the tinder, just as in the tipi method. The shallow trench you have dug lets air move under the fire, which keeps a steady supply of oxygen coming.
The pyramid fire
To lay a pyramid-shaped campfire, place two small logs or branches parallel to the ground. Then lay a thick layer of smaller branches across the parallel logs. Add three or four layers of branches, each one finer than the one before and laid at right angles to it. In this version we put the tinder on top of the pyramid. As the fire burns, the material underneath catches from the logs above it. Thanks to this arrangement the fire burns from the top down, so you need to add wood less often (but do not leave the fire unattended, especially when the forest floor is dry).
What can you light a fire with?
The simplest way to light a fire is to hold a match to the bottom of the campfire we have built, where we put the tinder. If we have done all the previous steps correctly, the flames will gradually spread through the whole structure. Now all you need to do is make sure it does not go out.
It can happen, though, that our matches get wet. You can try drying them by keeping the wet matches in a dry pocket close to your body heat, or by rubbing them in your hair. A much better idea, however, is to protect your matches beforehand, before you head out. To make waterproof matches, melt some candle wax and then dip the matches in it one by one. Once the wax sets, the matches will be covered in a waterproof coat of wax.
Another option is a fire steel. Its advantage is that damp does not bother it, so we do not have to worry about it getting wet. It does not take up much space either, and you can even hang it round your neck. One fire steel is enough to light hundreds, if not thousands, of campfires.
Other ways to light a fire
If we have neither matches nor a fire steel, we can try other methods of lighting a fire.
For this you can use a magnifying glass, a lens from binoculars or a camera, or even the bottom of a bottle (although that is much harder). What you need is a converging lens, in other words something transparent with a convex surface, and it only works in full sunshine.
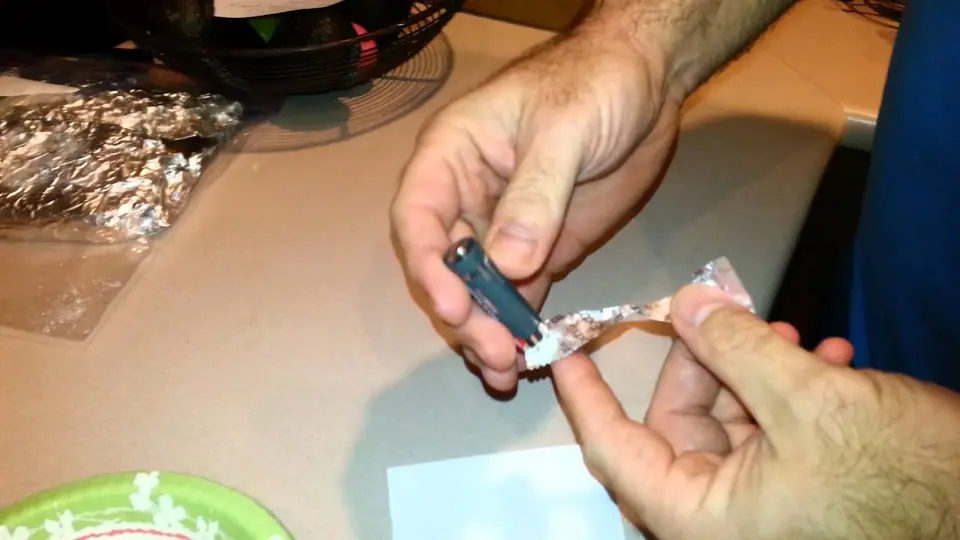
Another way is to use a battery and a piece of aluminium foil, for example from a chewing gum wrapper (just mind your fingers, because the foil heats up in the blink of an eye).
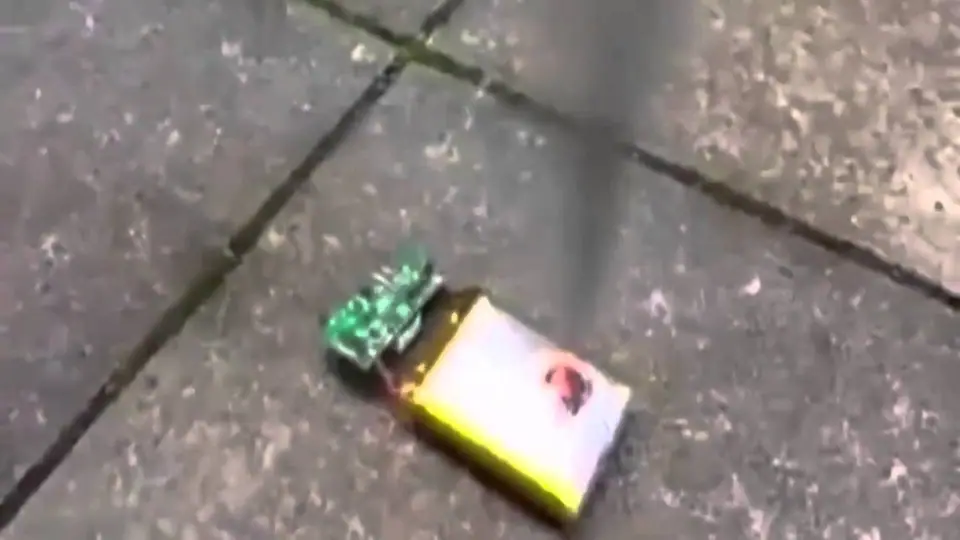
As a last resort you can also use the battery from your phone; just remember that the fumes it gives off are toxic and harmful. It is also easy to burn yourself, because the reaction is quite violent. (This only makes sense once the phone is completely dead and is nothing more than a useless brick. While it still works, it is your way of calling for help on the emergency number 112, so leave its battery alone. And if you do go ahead, be careful: a punctured lithium-ion battery can burst into flames or even explode, and it gives off highly toxic hydrogen fluoride, among other things. Keep it away from your face, do it in the open air and do not breathe in the smoke.)
There are also more primitive methods, which mostly come down to rubbing two pieces of wood together. They are fairly hard to master and take a lot of practice. If you have never done it before, you probably will not manage it the first time.
Get outdoors and start fires! (but only in designated places)
None of the methods I have described here will be any use to you in a real situation unless you try them out in practice. Practice makes perfect, so you should put what you have read here to the test outdoors. That does not mean you have to charter a helicopter to the Siberian taiga straight away. You can even practise in your own back garden. The point is to build up practice and skill. Theory on its own may not be enough.
This is, of course, not a complete guide to lighting a fire. I deliberately left out a few fundamental points here, because I tried to keep the material fairly simple and easy to take in. But maybe you would like to know more, or add something of your own? If so, tell me about it in the comments.
Source: in writing this article I relied largely on the US Army’s survival manual (US Army Survival Manual, FM 21-76, chapter 7, “Firecraft”).
Leave a comment