
How to make a torch?
The torch is one of the oldest portable light sources used by humans. These days we have a great many ways of lighting up the dark. All sorts of battery torches, chemical light sources (chemiluminescent ones, the so-called light sticks) and even the torch built into a mobile phone. But what if we find ourselves far from civilisation, night is drawing in and we have none of these modern ways of lighting at hand? Then there is nothing left for us to do but make a torch.
Internet torches
Browse the internet and you will find lots of ways of making a torch. A surprising number of them suggest wrapping string around the fuel. I am afraid the people who write that kind of thing have never made a torch with their own hands in their lives. Unless it was in Minecraft 😉
I did try the string method once and the result was easy to predict. Once lit, the torch quickly “fell apart”, because the string simply burnt through and stopped doing its job. I tried to prevent that by wrapping wire around the torch, but that solution has its drawbacks too. Above all, the material would not burn right next to the wire (underneath it and around it).
In the end, though, I found the best possible way of making a torch, and with nothing but a knife or a machete at that. You do not need any other tools for it, no wire and no string. A torch like this can be made very quickly, with minimal resources and effort.
What do you need to make a torch?
For our torch we will need:
- a thick branch from a freshly cut tree. Dried-out wood is not really suitable for our purposes, but at a pinch you can use it too.
- fuel. You can use practically anything you have to hand for this: a fistful of dry leaves and twigs, a dry pine cone, a bulrush head, even cotton socks.
- resin
Making the torch
It is really simple. Take your branch and, at the thicker end, cut into it lengthways in the shape of a cross, so that you get a sort of springy holder. The wood should split naturally, along the grain. Wedge both cuts open at their base with a small stick or twig.
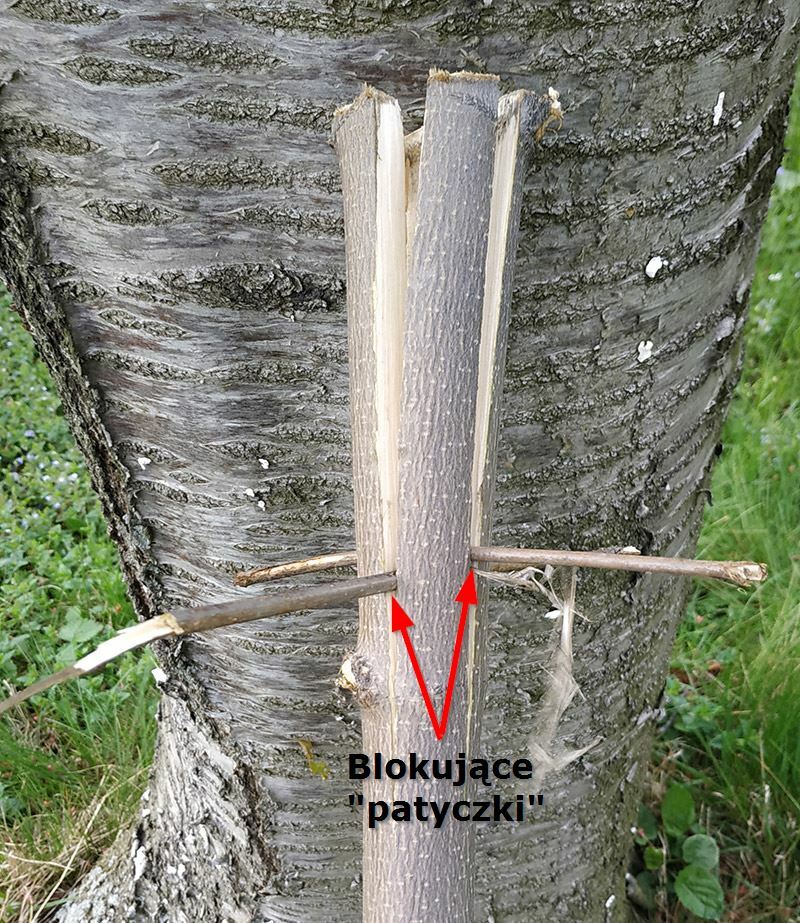
Fix your fuel into the holder you have made this way.
In this form the torch is practically ready to use: all you have to do is pull out the wedging sticks so that the holder grips firmly and securely. The split sections spring back and hold the fuel in place all by themselves.
That said, it is quite easy to soup up our torch a bit more so that it burns bright and steady.
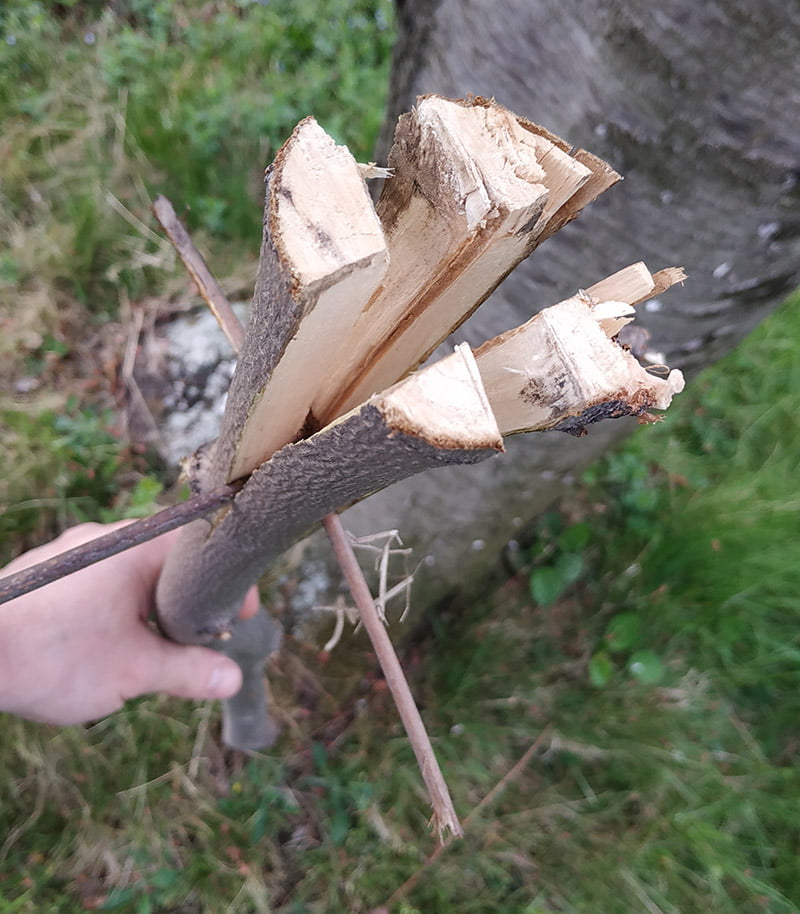
To do that, you need to collect some resin. Resin from conifers works best. In a forest you should have no trouble at all finding resin. Just have a little look around and you are bound to come across a tree oozing it.
Depending on whether it is fresh or not, resin will be a thick, sticky liquid, have the consistency of plasticine, or come as dry lumps. Once you have gathered it (it is best to prise it off with a knife into some kind of container, or straight onto your palm), work it into the fuel you have already fitted into the torch.
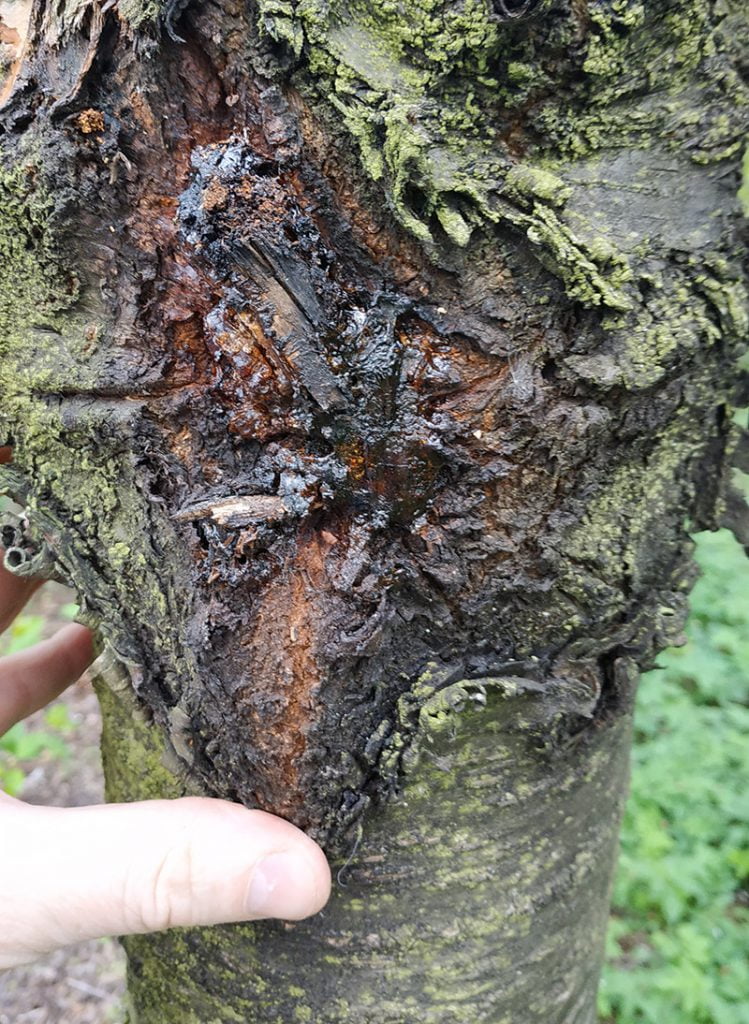
The simplest way to do this is to crumble the resin and pack it evenly into the fuel. If you have more time and are able to light a campfire, you might want to try melting the resin. All you need for that is an empty tin: drop the lumps of resin into it and then set it down near the fire. Be careful here that the resin does not catch fire (hot resin catches fire very easily!), so do not put the tin directly on the fire, just next to it. (Hold the tin with a glove or a stick, because hot resin sticks to the skin and burns badly, and keep a lid or a flat stone close by so you can smother the flame if need be.)
Pour the melted resin evenly over the fuel.
Your torch is ready.
Using a torch
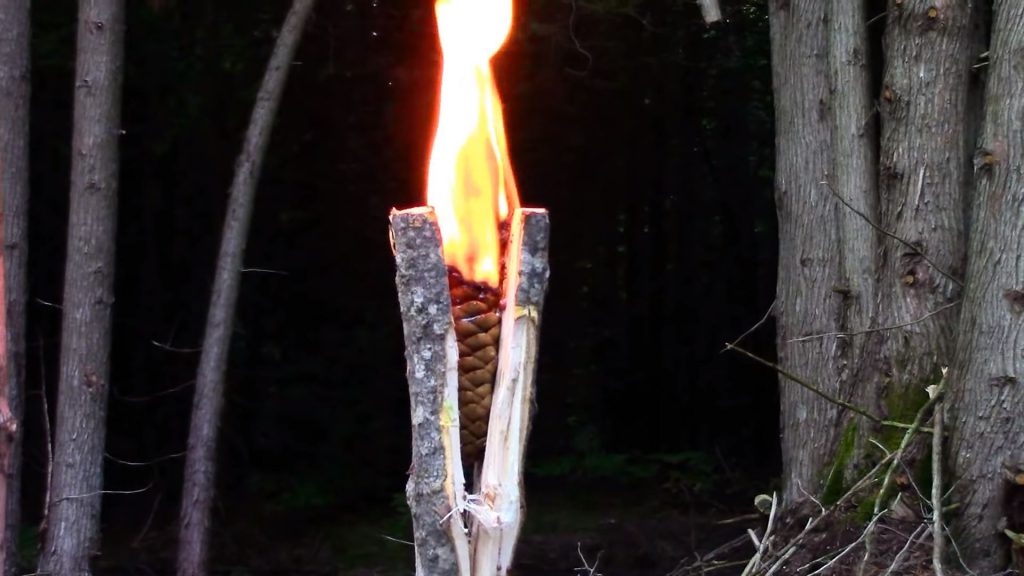
This simple method lets us make a few, or even a dozen or so, torches. One well-made torch should burn for anything from a few minutes to half an hour or even longer. It may sound funny to some, but cotton socks soaked in resin burn the longest 🙂
Torchlight has one advantage over the light of a battery torch: while a battery torch throws a narrow beam, a flaming torch lights up the area around us in every direction. That way we can see what is going on all around us, not just in the direction we happen to be shining it.
One important tip to finish with: when you use a torch, do not hold it near your head, hold it out to the side at arm’s length. Do not hold it directly above your head either, because falling sparks can set your hair or clothes alight. (Also watch out for dripping, burning resin, especially over dry grass and forest litter, and when you are done, put the torch out completely with water, soil or sand - do not put it down while it is still smouldering.)
Leave a comment